Description
Foil Plus Emboss: What You Get
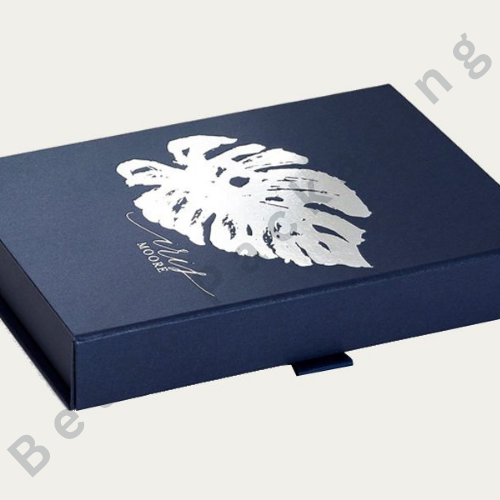
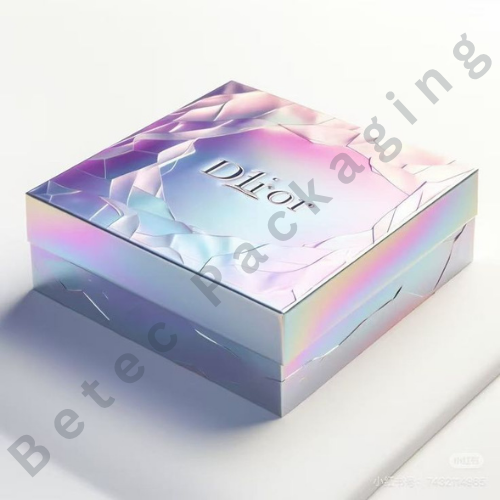
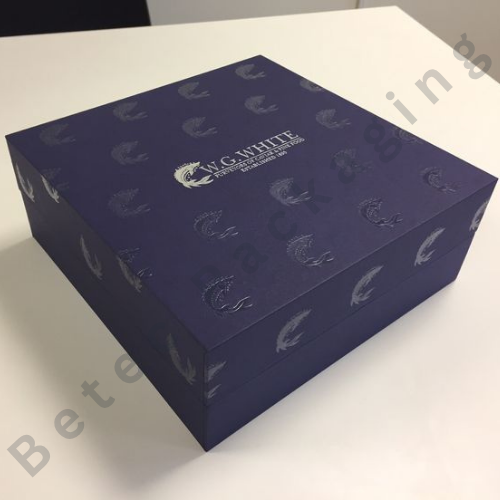
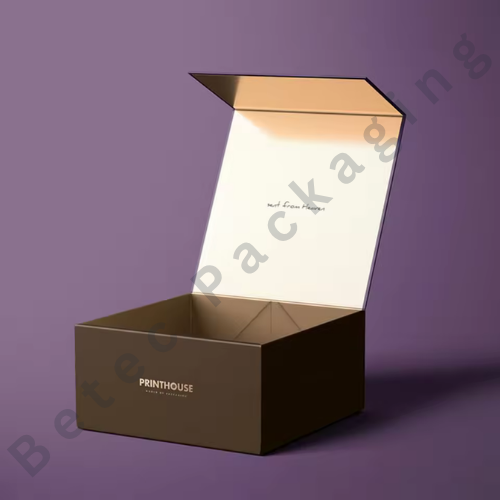
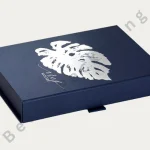
When hot foil is combined with embossing, the metallic detail rises above the surface. Printers call this combination emboss or foil embossing. The result catches light and shadow at once, which gives logos real presence. Betec Packaging produces custom foil boxes with embossing for brands that want a finish customers can see and feel.
Step 1: Prepare Vector Artwork
Foil and emboss areas are defined in vector artwork with clean outlines. Your designer or ours marks which elements receive foil, which receive emboss, and which receive both.
Step 2: Make the Tooling
Foil stamping uses an engraved metal die. Embossing uses a pair of dies, a raised die and a matching counter die, that press the board between them. Tooling is made to your artwork so edges are crisp.
Step 3: Stamp the Foil
A heated die presses foil from its carrier film onto the board where the die touches. Heat, pressure, and a short dwell time bond the foil to the surface.
Step 4: Emboss the Foil
The board is pressed again to raise the design. Because foil and emboss must line up exactly, registration is controlled carefully, and the sequence is tested on samples to reduce the risk of foil cracking under pressure.
Step 5: Inspect
Finished pieces are checked for alignment, foil coverage, edge sharpness, and consistency across the run.
Choosing Materials That Emboss Well
Rigid board, thick paperboard, and heavier specialty papers hold embossed detail well. Thin board and corrugated can struggle with deep relief.
What Can Go Wrong
Misregistration, foil cracking on very deep embossing, and lost detail on fine lines are the common issues. Moderate depth and bolder shapes reduce risk.
Why Choose Betec Packaging
Betec Packaging offers free design support, digital proofs, and sampling guidance for foil and embossing.
Request a free quote and let Betec Packaging raise your brand a little above the rest.
Foil Plus Emboss: What You Get
When hot foil is combined with embossing, the metallic detail rises above the surface. Printers call this combination emboss or foil embossing. The result catches light and shadow at once, which gives logos real presence. Betec Packaging produces custom foil boxes with embossing for brands that want a finish customers can see and feel.
Step 1: Prepare Vector Artwork
Foil and emboss areas are defined in vector artwork with clean outlines. Your designer or ours marks which elements receive foil, which receive emboss, and which receive both.
Step 2: Make the Tooling
Foil stamping uses an engraved metal die. Embossing uses a pair of dies, a raised die and a matching counter die, that press the board between them. Tooling is made to your artwork so edges are crisp.
Step 3: Stamp the Foil
A heated die presses foil from its carrier film onto the board where the die touches. Heat, pressure, and a short dwell time bond the foil to the surface.
Step 4: Emboss the Foil
The board is pressed again to raise the design. Because foil and emboss must line up exactly, registration is controlled carefully, and the sequence is tested on samples to reduce the risk of foil cracking under pressure.
Step 5: Inspect
Finished pieces are checked for alignment, foil coverage, edge sharpness, and consistency across the run.
Choosing Materials That Emboss Well
Rigid board, thick paperboard, and heavier specialty papers hold embossed detail well. Thin board and corrugated can struggle with deep relief.
What Can Go Wrong
Misregistration, foil cracking on very deep embossing, and lost detail on fine lines are the common issues. Moderate depth and bolder shapes reduce risk.
Why Choose Betec Packaging
Betec Packaging offers free design support, digital proofs, and sampling guidance for foil and embossing.
Request a free quote and let Betec Packaging raise your brand a little above the rest.


Reviews
There are no reviews yet.